I had the opportunity to spend the entire afternoon working on the trailer. I removed the remaining interior skins, the exposed fiberglass insulation, the interior wheel well covers, and the trunk.
---------------------------------------------------
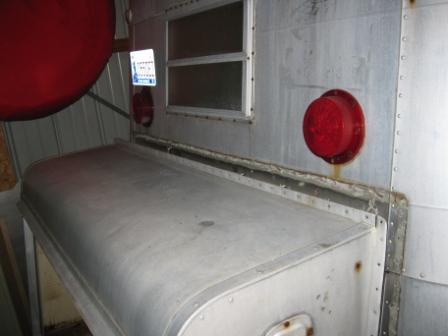
The last two interior skins were removed.
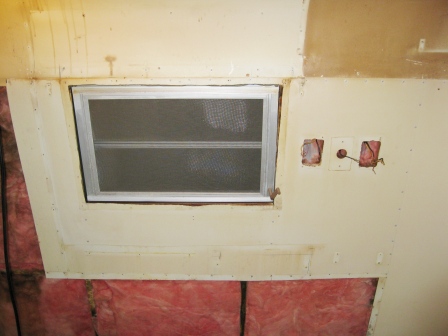
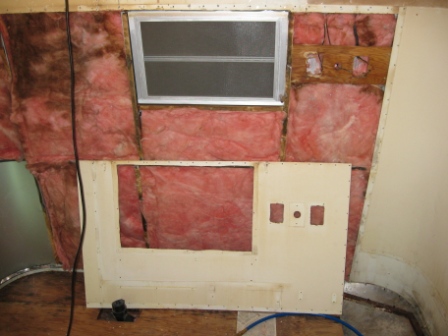
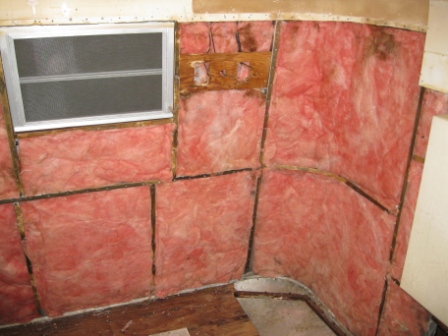
All exposed insulation is now removed. The interior side of the external skin is in great condition and looks almost new.
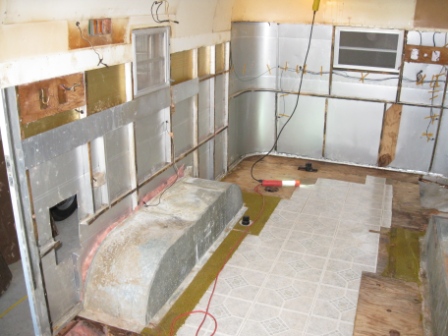
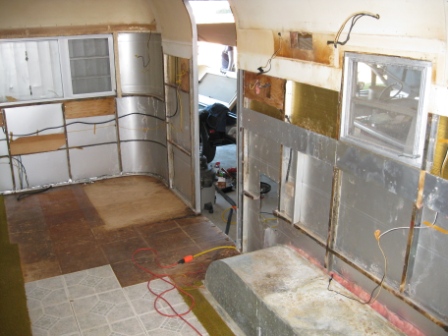
The wheel wells are double walled, separated by fiberglass insulation. One well is fastened to the subfloor, the other is attached to the frame.

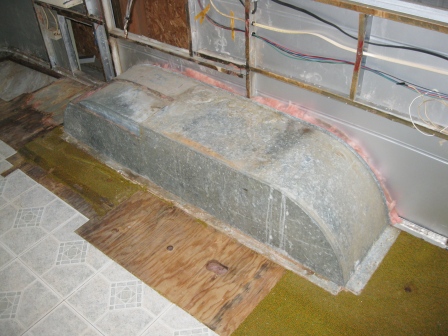
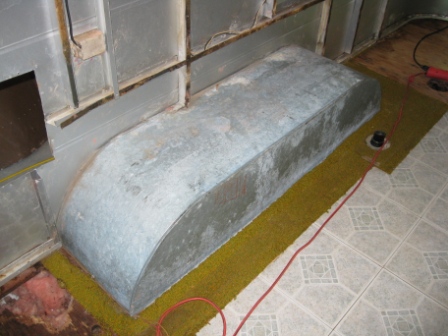
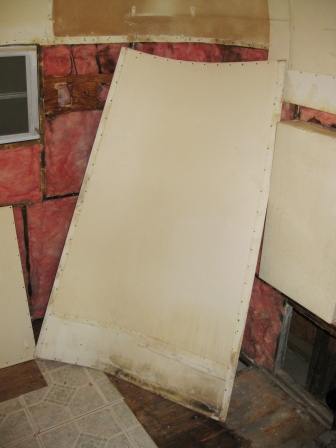
The trunk was tackled next. The door was removed first.
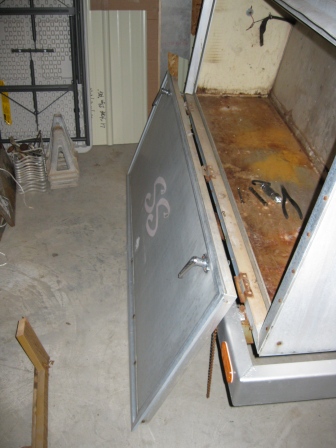
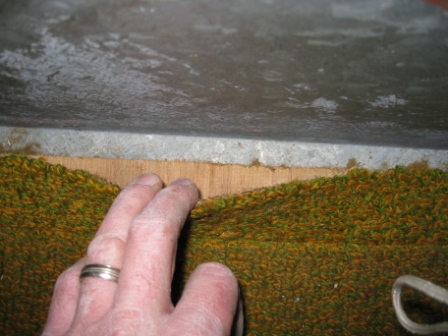
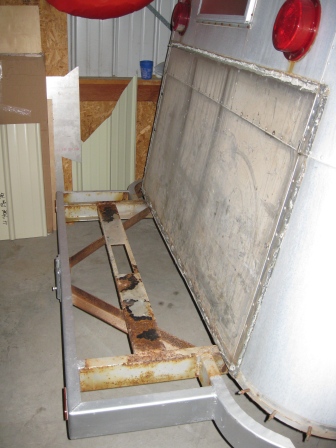
The trunk shell is next. Screws attach the lower trunk floor angle to the "U" channel of the trailer shell.
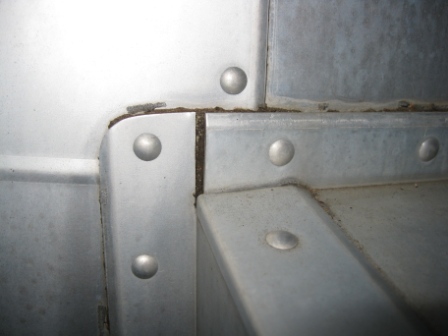
1/8" solid rivets attach the sides and top to the trailer shell. The solid rivets used on this travel trailer seem harder than standard aircraft rivets, and do not drill out as quickly as I'm accustomed to.
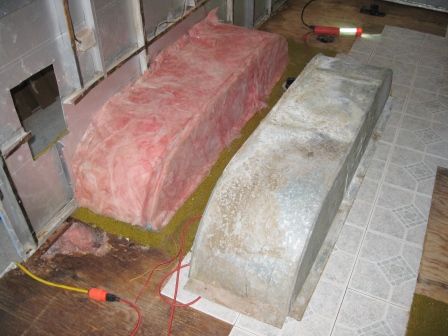
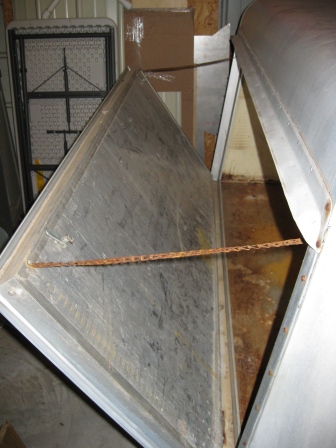
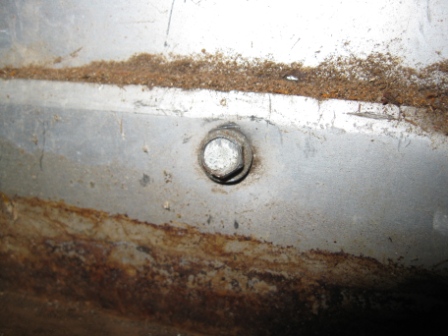
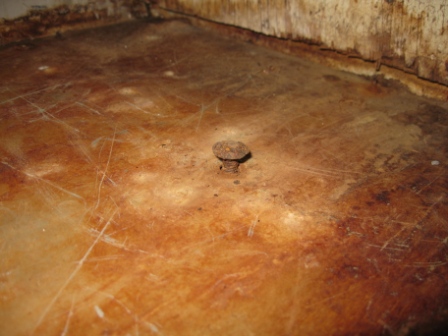
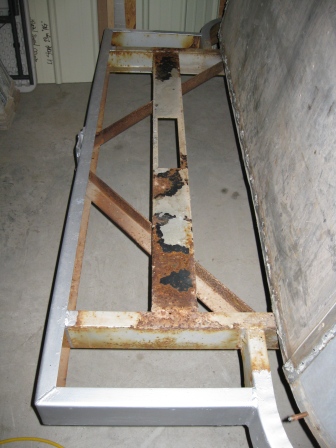
Two carriage bolts attach the trunk floor to the frame. The bolt head sits on the plywood trunk floor. The plywood floor is not present in this pic as it was removed a few weeks back due to rot.
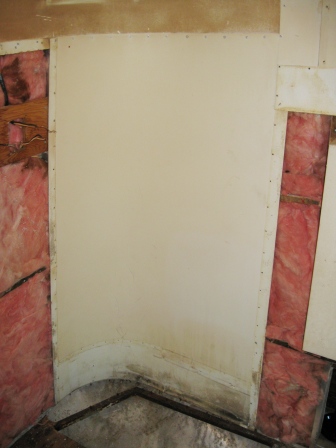
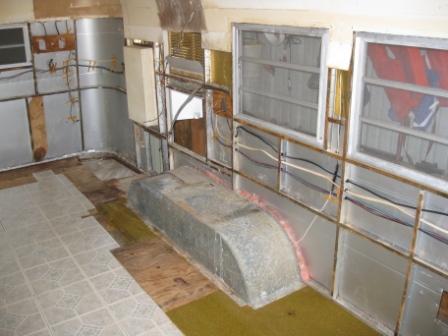
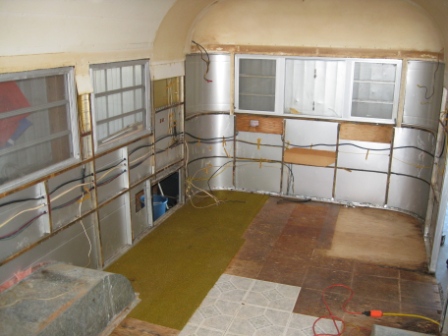
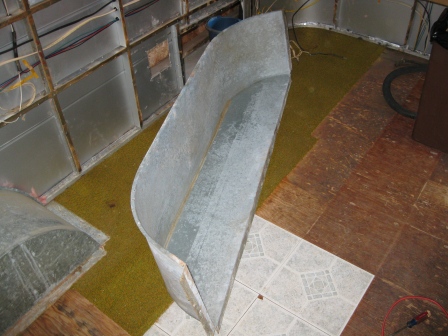
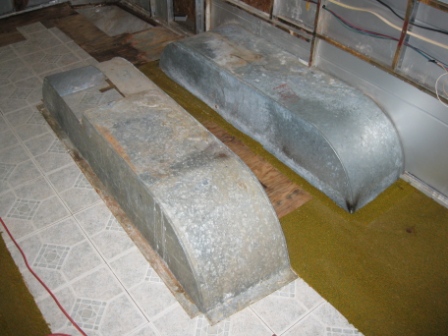
With all fasteners removed, the trunk is separated from the shell, exposing the frame.
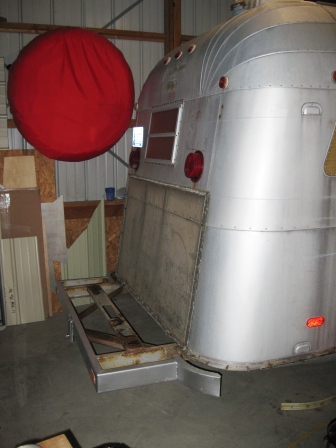
Tomorrow the shell will be braced and separated from the frame.
That's all for today.